
Shopify is absolutely one of the best CMS platforms for you to create an eCommerce website. However, nothing is perfect, and it has a certain technical SEO limitation. It’s because it automatically creates XML sitemaps split by page type. And then basically Shopify doesn’t allow you to manually change or customize unless you install a paid App through the Shopify marketplace.
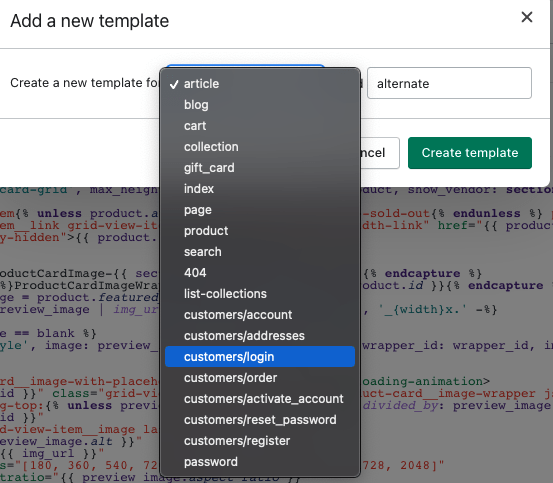
Regarding Shopify XML Sitemap, recently there is an update from Shopify in 2021. Now the Shopify allows that the Shopify site robot.txt is editable. Basically, Shopify claims sellers can go to the theme, and click action, and then the edit code. In the theme’s liquid section, Shopify recommends adding the Shopify sitemap by adding a template and selecting a robot option. However, I am not able to see the robot template option yet.
However, for some more advanced SEO use cases, this can be limit since you can’t create a new sitemap on the CMS. Then it’s automatically updating to the Search Console.
In this piece regarding Shopify XML Sitemap, I’m going to show you how to create and upload a custom Shopify XML Sitemap. You can upload it indexed by the Google search console and Bing webmaster. The key point is totally free, and you don’t need to pay for any third-party plugin. By the end of the article, you can learn where to create, how to upload and check if the indexation is successful.
How to find default Shopify sitemaps?
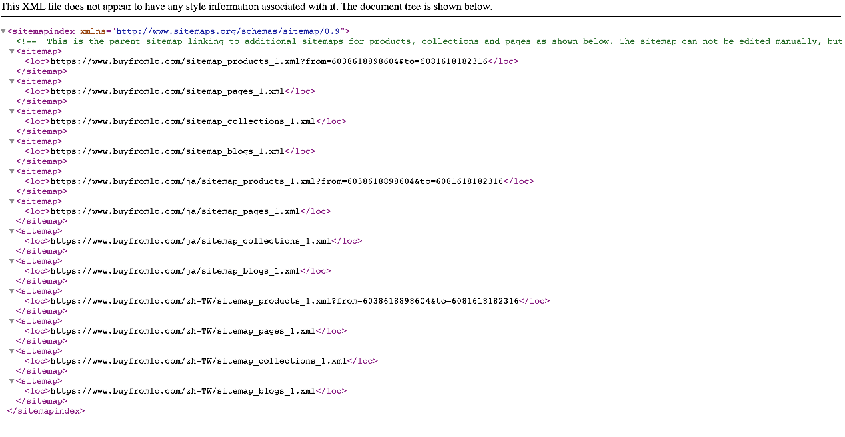
Default sitemaps created by Shopify can be accessed via the sitemap index at example.com/sitemap.xml.
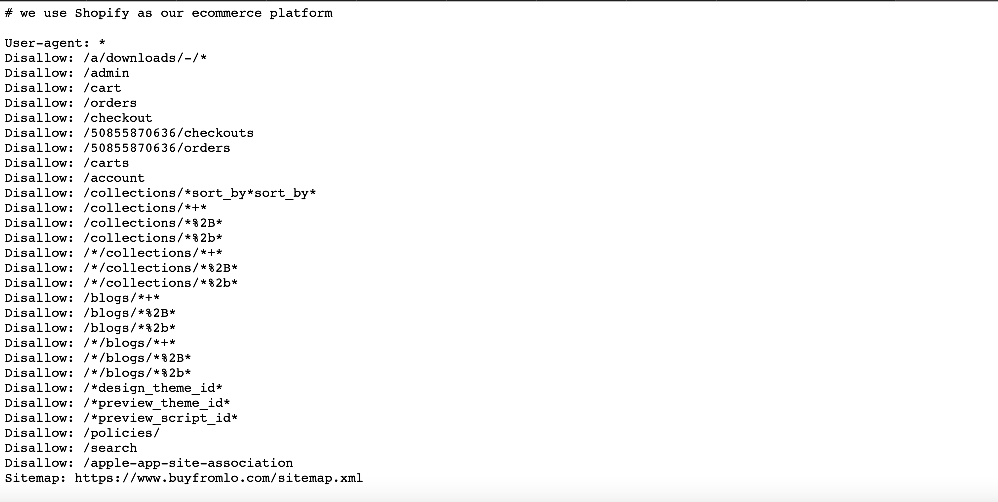
This sitemap index URL is also referenced in the Shopify website’s robots.txt file. Shopify didn’t allow to edited the defau. lt robot.txt file, although recently they said it’s editable now. But I can’t see yet. So the custom sitemap won’t be linked from there.
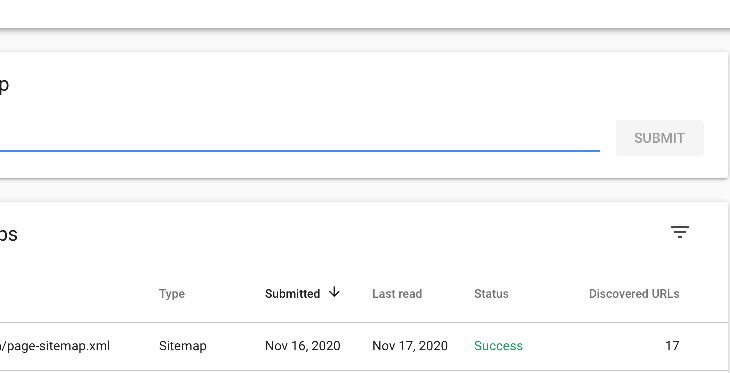
You can upload the default XML sitemap to Google Search Console to check if pages are correctly indexed.
Why we need a custom Shopify XML Sitemap and create a Shopify Sitemap
- If you migrate to Shopify and change URL structure, this could be used to help to process redirects and remove old URLs from the index.
- If you consolidate sections of your site it can be useful. It’s because it includes old URLs in a sitemap to help Google process redirects that are in place and remove these URLs from their index.
- This method could be used to upload hreflang sitemaps. (Be careful as these would not be referenced in your robots.txt file).
- You have customized your Shopify CMS and have product variants. The Shopify sitemap does not include the product variants. So you can add them to the sitemap.
(Note: Some Shopify Apps can facilitate you to create and manage a custom Shopify XML sitemap. However, normally the apps charge monthly fees. Personally, I can’t see the value if you only need to custom a custom XML sitemap)
How To Create a Custom Shopify XML Sitemap:
- If you migrate to Shopify and change URL structure, this could be used to help to process redirects and remove old URLs from the index.
- FAQ
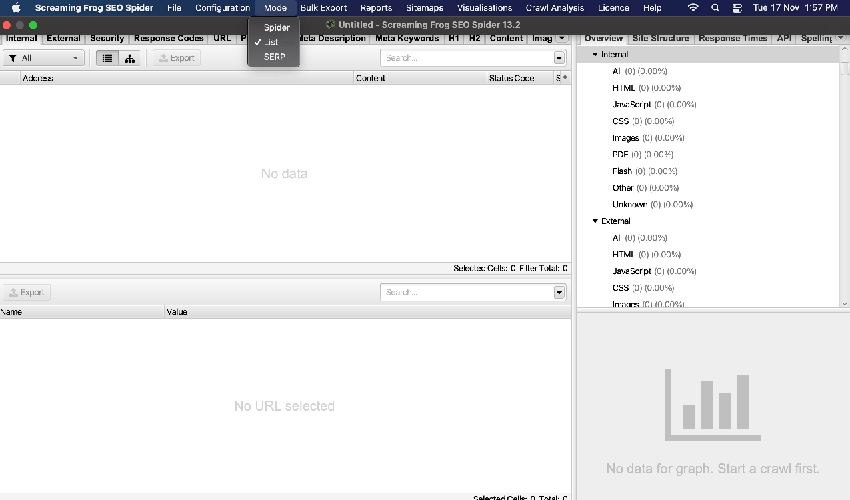
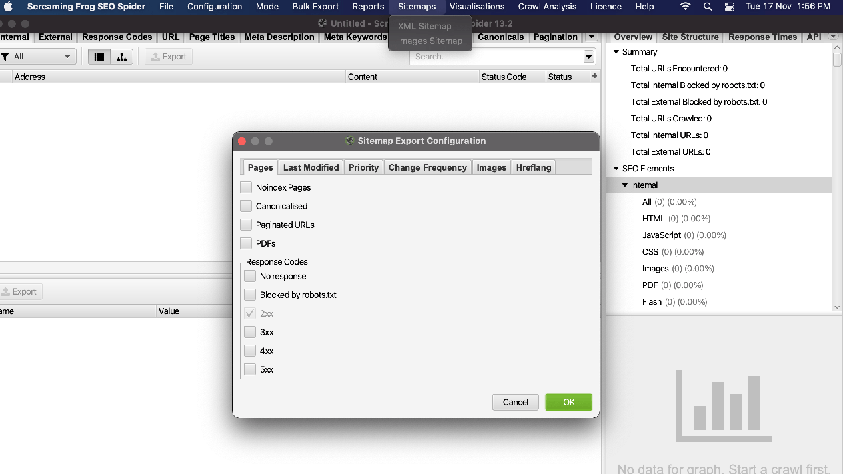
- Create an XML file using the Sitemap option in Screaming Frog (if your URLs are canonicalized or no-indexed, make sure to select these options. You’re creating your sitemap in Screaming Frog, otherwise those URLs won’t be included)
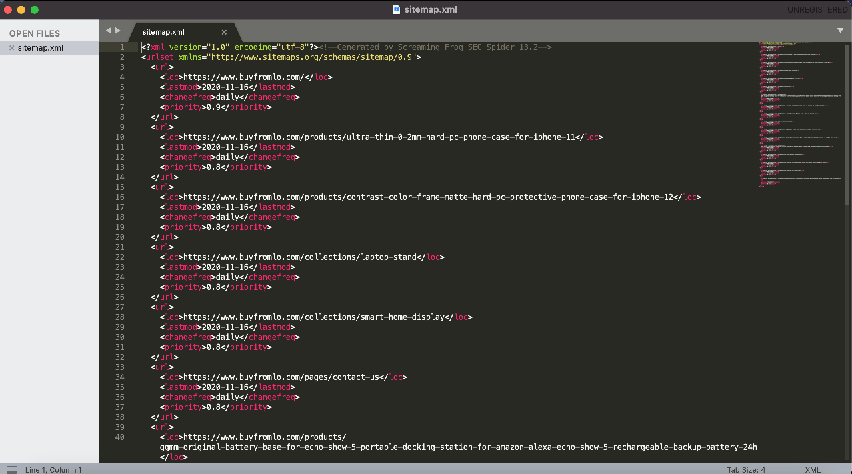
- Add, or reduce the pages by using sublime text coding edition software (Free)
Upload XML Sitemap to Shopify as a File
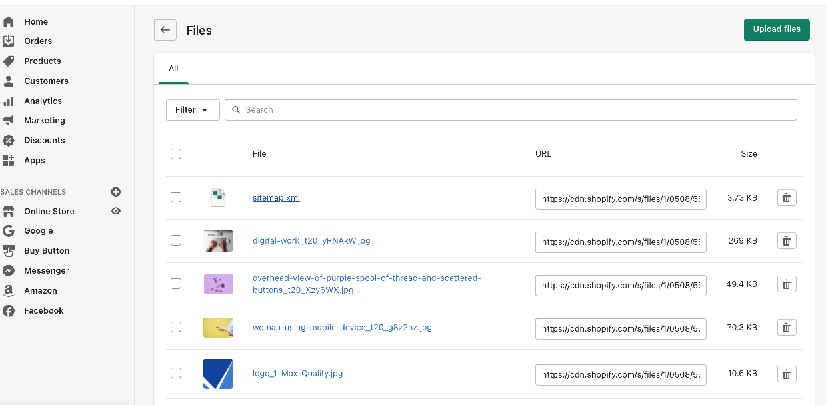
- Upload this to Shopify as a File – this will sit on the Shopify CDN.
Create a Redirect
- Create a redirect from a new XML URL
(Online Store>Navigation>URL Redirects>Create URL Redirect)
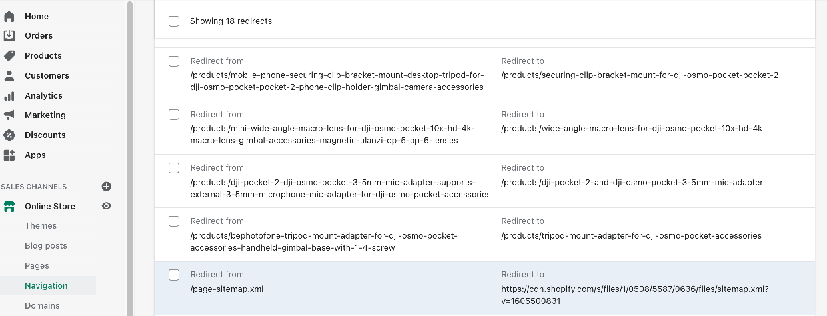
In Shopify, you cannot redirect from a URL that is still alive. so you have to redirect the 404 URLs. Shopify returns a 404 for any URL that doesn’t currently exist. So you can just make up any URL that isn’t currently live to use for your redirect.
When you are adding the redirect, the first URL must be on your domain. And this can just be the relative URL. However, the URL you are redirecting to should be the absolute URL as this sits on the CDN.
After you uploaded the custom XML sitemap to the Google search console, it might show the status in “couldn’t fetch”. However, within 24 hours, you should be able to see the status changed to “success”, and an index coverage report for your sitemap.
I hope you enjoy reading How To Create A Custom Sh. opify XML Sitemap for your eCommerce Website and find it helpful. if you did, please support us by doing one of the things listed below, because it always helps out our channel.
- Support my channel through PayPal (paypal.me/Easy2digital)
- Subscribe to my channel and turn on the notification bell Easy2Digital Youtube channel.
- Follow and like my page Easy2Digital Facebook page
- Share the article to your social network with the hashtag #easy2digital
- Buy products with Easy2Digital 10% OFF Discount code (Easy2DigitalNewBuyers2021)
- You sign up for our weekly newsletter to receive Easy2Digital latest articles, videos, and discount code on Buyfromlo products and digital software
- Subscribe to our monthly membership through Patreon to enjoy exclusive benefits (www.patreon.com/louisludigital)
