Product detail pages are the main functional substances for several critical purposes in business operations. Customers learn about your product and IWOM from PDPs, and it has a high weight to make customers determine whether to check out or not eventually. Online marketplace and social commerce platforms like Google Shopping, and TikTok shop open API integration for merchants to list products and generate organic traffic by connecting with PDP data feed. Marketers put effort to optimise the product conversion rate to increase investment ROI as PDP is one of the most important parts of the conversion funnel.
In this piece, I would attempt to go through how to build product detail pages in bulk using flask, Javascript, and Python from a Python developer perspective. If you are interested in building PDPs using flask, this piece would put you in the right shoes.
Table of Contents: Build Online Shop Product Detail Pages or PDP Using Flask, Javascript, Bootstrap
- Design the page layout using Bootstrap
- Use Flask URL variable parameter to create PDPs in bulk
- Connect with MongoDB using Jinja2 to show product detail content in PDPs
- Add a Javascript to interact with product photos in PDPs
- Integrate with Payment Gateway
- Full Python of Product Detail Page Development Using Flask, Javascript, and Bootstrap
- FAQ
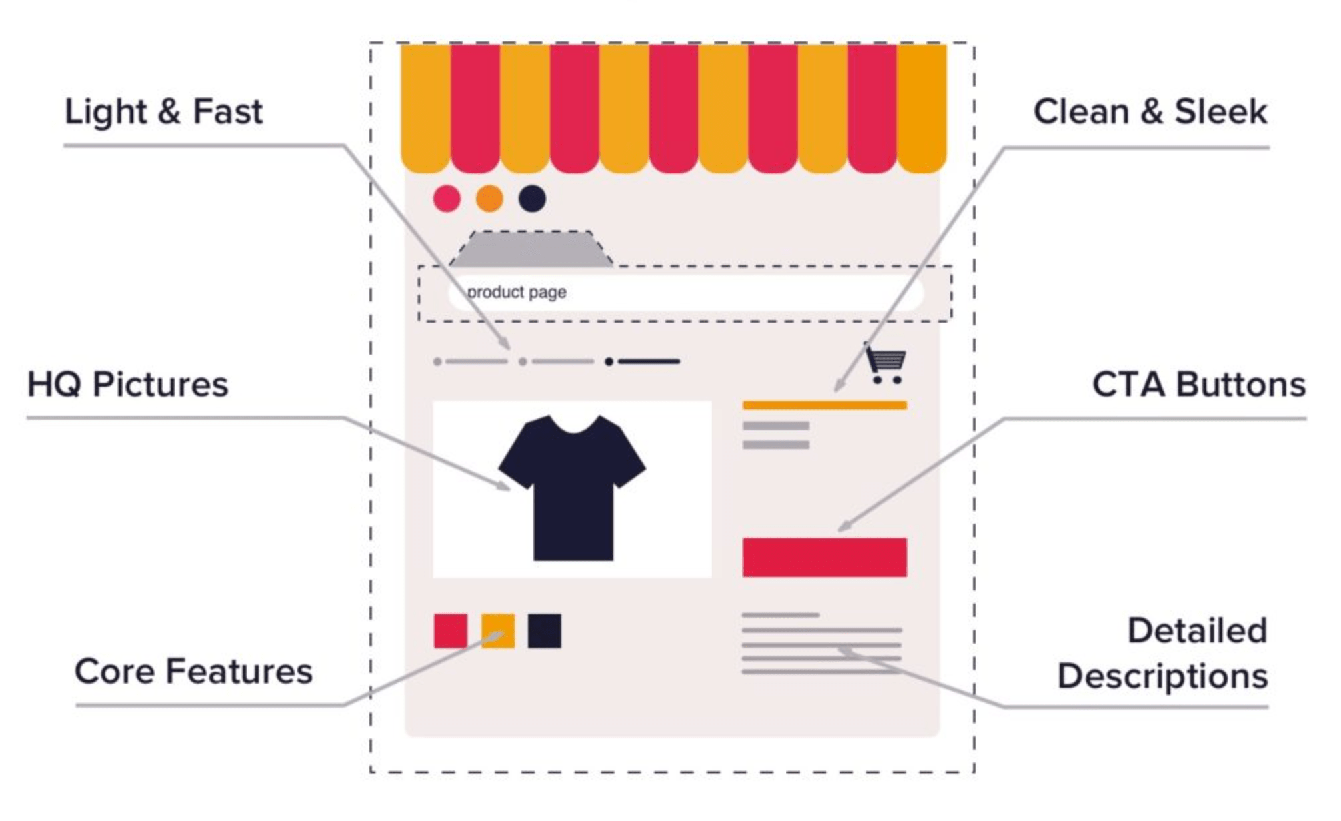
Design the Page Layout Using Bootstrap
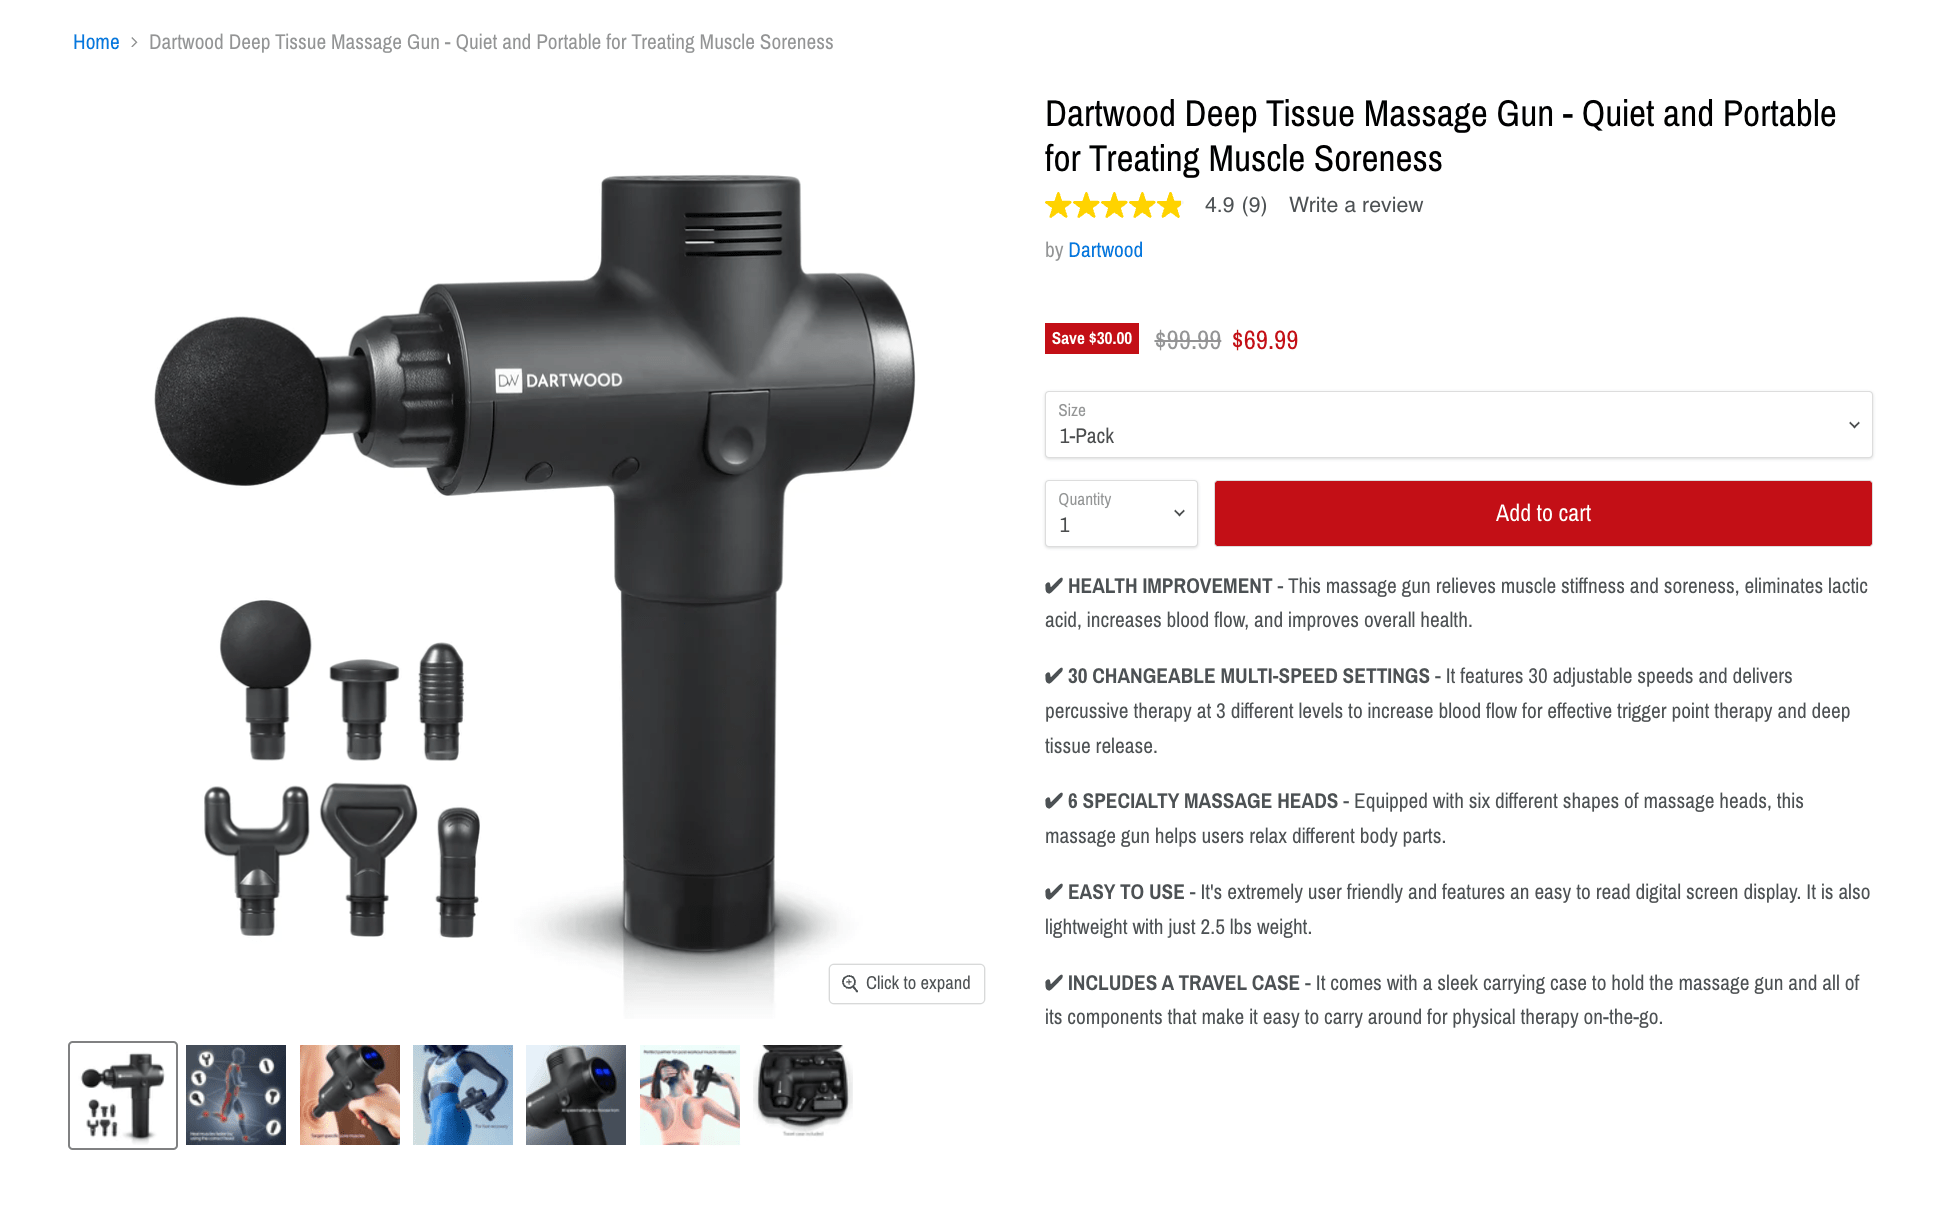
First thing first, I would design and outline the PDP framework and components first. There are many PDP templates out there. So you can either design from scratch or use the Bootstrap templates and add your expected design or content. For me, I would take Shopify PDP as . an example. This is an approach I usually adopt by directly copying the well-known platform PDP because it can better enjoy with customers using a kind of familiar browsing sentiment.
Here is the sample and there are the codes as follows
<div class="container mt-5"> <div class="row"> <div class="col-md-6"></div> <div class="col-md-6"></div> </div></div>PS: The mentioned PDP structure looks complicated, but the framework just has 5 lines of code using Bootstrap
Use Flask URL variable parameter to create PDPs at Scale
In the Flask route, we are able to use < > to create a variable in the URL. This variable connects with the def in the route and the database. Here is the sample
@app.route("/<abc>", methods=['GET', 'POST'])def abc(variableURL): product = mongoDB.abc.find_one({'ABC': abc}) return render_template('/abc.html', product=product, user=current_user)From this code we can see, as long as the ABC variable has been created in the database, the script can connect with that product dataset and feed the needed data to the front page.
Connect with MongoDB using Jinja2 to show product detail content in PDPs
The app route scripts illustrate that there is a dataset named in the product returning to the frontend. As we are using MongoDB, the dataset is in JSON format. So I take the PDP’s photo for the example using Jinja2 to show content dynamically {{ }}
<div class="col-md-6"> <div id="imageABC"> <image src="{{ product['imageabc']}}" width="600" height="600"></image> </div> <div id="imageSSSSS"> <img src="{{ product['imagecde']}}" width="120" height="120" class="p-3"> <img src="{{ product['imageefg']}}" width="120" height="120" class="p-3"> <img src="{{ product['imagehaha']}}" width="120" height="120" class="p-3"> <img src="{{ product['imageGG']}}" width="120" height="120" class="p-3"> </div> </div>This code result shows the Shopify sample we used above. One big photo plus several small photos are attached below the big one.
For more details regarding how to use MongoDB in Flask, please refer to these articles:
Chapter 69 – Build A Flask User Login System Using PyMongo
Chapter 66 – Flask Application Database Using MongoDB Atlas and Python to Better Big Data Management
Add a Javascript to interact with product photos in PDPs
Now the photos are not interactable still which is not the final result we expect. The fundamental function we expect is the big photo can be changed when customers click the small one. Here we need a function in the front end using Javascript. Here is the code sample
<script> var imageABC = document.getElementById('imageABC'); var imageSSSSS = document.getElementById('imageSSSSS').getElementsByTagName('img'); for (var i = 0; i < imageSSSSS.length; i++) { imageSSSSS[i].addEventListener('click', full_image); } function full_image() { var ImageSRC = this.getAttribute('src'); imageABC.innerHTML = "<img src=" + ImageSRC + " width='600' height='600'>"; }</script>Integrate with Payment Gateway
Last but not least, please be sure to connect with the checkout page because this is the original purpose you build an online shop. Here there are two scripts that are needed.
First thing first, it’s the checkout path. We can use the variable parameter again in the app route because each product should have a unique ID connecting with the payment gateway. So the payment gateway can iden. tify the product info including the pricing, promotion, country, currency, etc.
Here is the code sample. By the way, I would suggest adding a login required for any customers who are ready to check out.
@app.route("/buynow/<Stripe Product ID>", methods=['POST', 'GET'])@loginRequireddef buynow(Stripe Product ID):Then, in the frontend section, we can use Jinga2 again to connect with the database and tell the system which product we should direct to.
<a href="{{ url_for('buynow', productID=product['Stripe Product ID']) }}" class="btn btn-primary btn-lg btn-block">Buy Now</a>For more details regarding the Stripe payment, please refer to this article.
Chapter 53 – Stripe API Integration to Proceed Online Payment from Web Applications
Full Python of Product Detail Page Development Using Flask, Javascript, and Bootstrap
There are many functional sections you can add on such as customer review, quantity, relevancy product recommendation slider, etc. It’s not difficult as you can add the extension based on this framework. Please try and explore.
If you are interested in Chapter 71 – Build Online Shop Product Detail Pages or PDP Using Flask, Javascript, Bootstrap, please subscribe to our newsletter by adding the message “Chapter 71”. We would send you the script immediately to your mailbox.
I hope you enjoy reading Chapter 71 – Build Online Shop Product Detail Pages or PDP Using Flask, Javascript, Bootstrap. If you did, please support us by doing one of the things listed below, because it always helps out our channel.
- Support and Donate to our channel through PayPal (paypal.me/Easy2digital)
- Subscribe to my channel and turn on the notification bell Easy2Digital Youtube channel.
- Follow and like my page Easy2Digital Facebook page
- Share the article on your social network with the hashtag #easy2digital
- You sign up for our weekly newsletter to receive Easy2Digital latest articles, videos, and discount codes
- Subscribe to our monthly membership through Patreon to enjoy exclusive benefits (www.patreon.com/louisludigital)