How to Turn on AMP with Google Adsense and Google Ad Manager Advertising
Are you so frustrated at your Web loading speed that is affecting the web monetisation? Indeed slow loading speed is due to complicated reasons, such as server capability, web building structures, elements overloading in the structure, etc. If you are not a web developer, it can be a headache question and it can dominate lots of time a day to fix and maintain.
Being said that, web loading speed is so important for SEO performance, CTR, and particularly web ads monetization performance that you can’t ignore it and leave it what it is. So in this article, I’ll talk about how to install and activate AMP for your wordpress website with Google adsense advertising. By the end of this piece, you can figure out how AMP works without duplicate content issues and enjoy much faster loading speed with advertising insertion.
Are you so frustrated at your Web loading speed that is affecting web monetization? Indeed slow loading speed is due to complicated reasons. They are such as server capability, web building structures, elements overloading in the structure, etc. If you are not a web developer, it can be a headache question and it can dominate lots of time a day to fix and maintain.
Being said that, web loading speed is so important for SEO performance, CTR. Particularly it’s important for web ads monetization performance that you can’t ignore it and leave it what it is. So in this article, I’ll talk about how to install and activate AMP for your WordPress website with Google Adsense and Google ad manager advertising. By the end of this piece, you can figure out how AMP works without duplicate content issues and enjoy much faster loading speed with advertising insertions.
- What’s Google AMP
- How to Create AMP pages for a WordPress website in 2 mins
- How To Turn On the ads of Google Adsense and Google Ad Manager (Formerly DFP) on AMP pages
What’s Google AMP

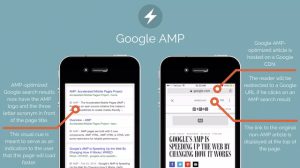
Google AMP is short for Google accelerated mobile page, which is an open-source framework developed by the search engine. You can use AMP to create websites, stories, emails, and ads that are designed with the user in mind. They have aimed to delight the user and provide lightning-fast, dynamic experiences in multiple forms.
Unlike other AMP, Google integrates with the website’s many channels, such as Search, AMP Cache, and Analytics. As well as being able to integrate with Google’s channels, you can monetize the AMP HTML framework with Google’s ad suite (Ads, AdSense, and AdManager).
Believe it or not, Google AMP can also hugely improve website SEO performance by speeding up the website loading speed. According to my own experience and learnings shared by the SEO community, website traffic and keyword ranking can be increased at least 50% after activating AMP.
How to Create AMP pages for a WordPress website in minutes
To set up AMP on your WordPress site, you can install an AMP plugin. Here I recommend AMP because it’s easy to use and very fast for you to set up AMP, no matter if you’re running an eCommerce site or a blog. Just Go to Plugins > Add New and search for AMP. Once you find it, simply install and activate it.
After you activate AMP, you would have a new URL structure that ends with /amp like below
Original:
AMP:
In the Google search console, you can see your AMP pages are being indexed from the day you activate.

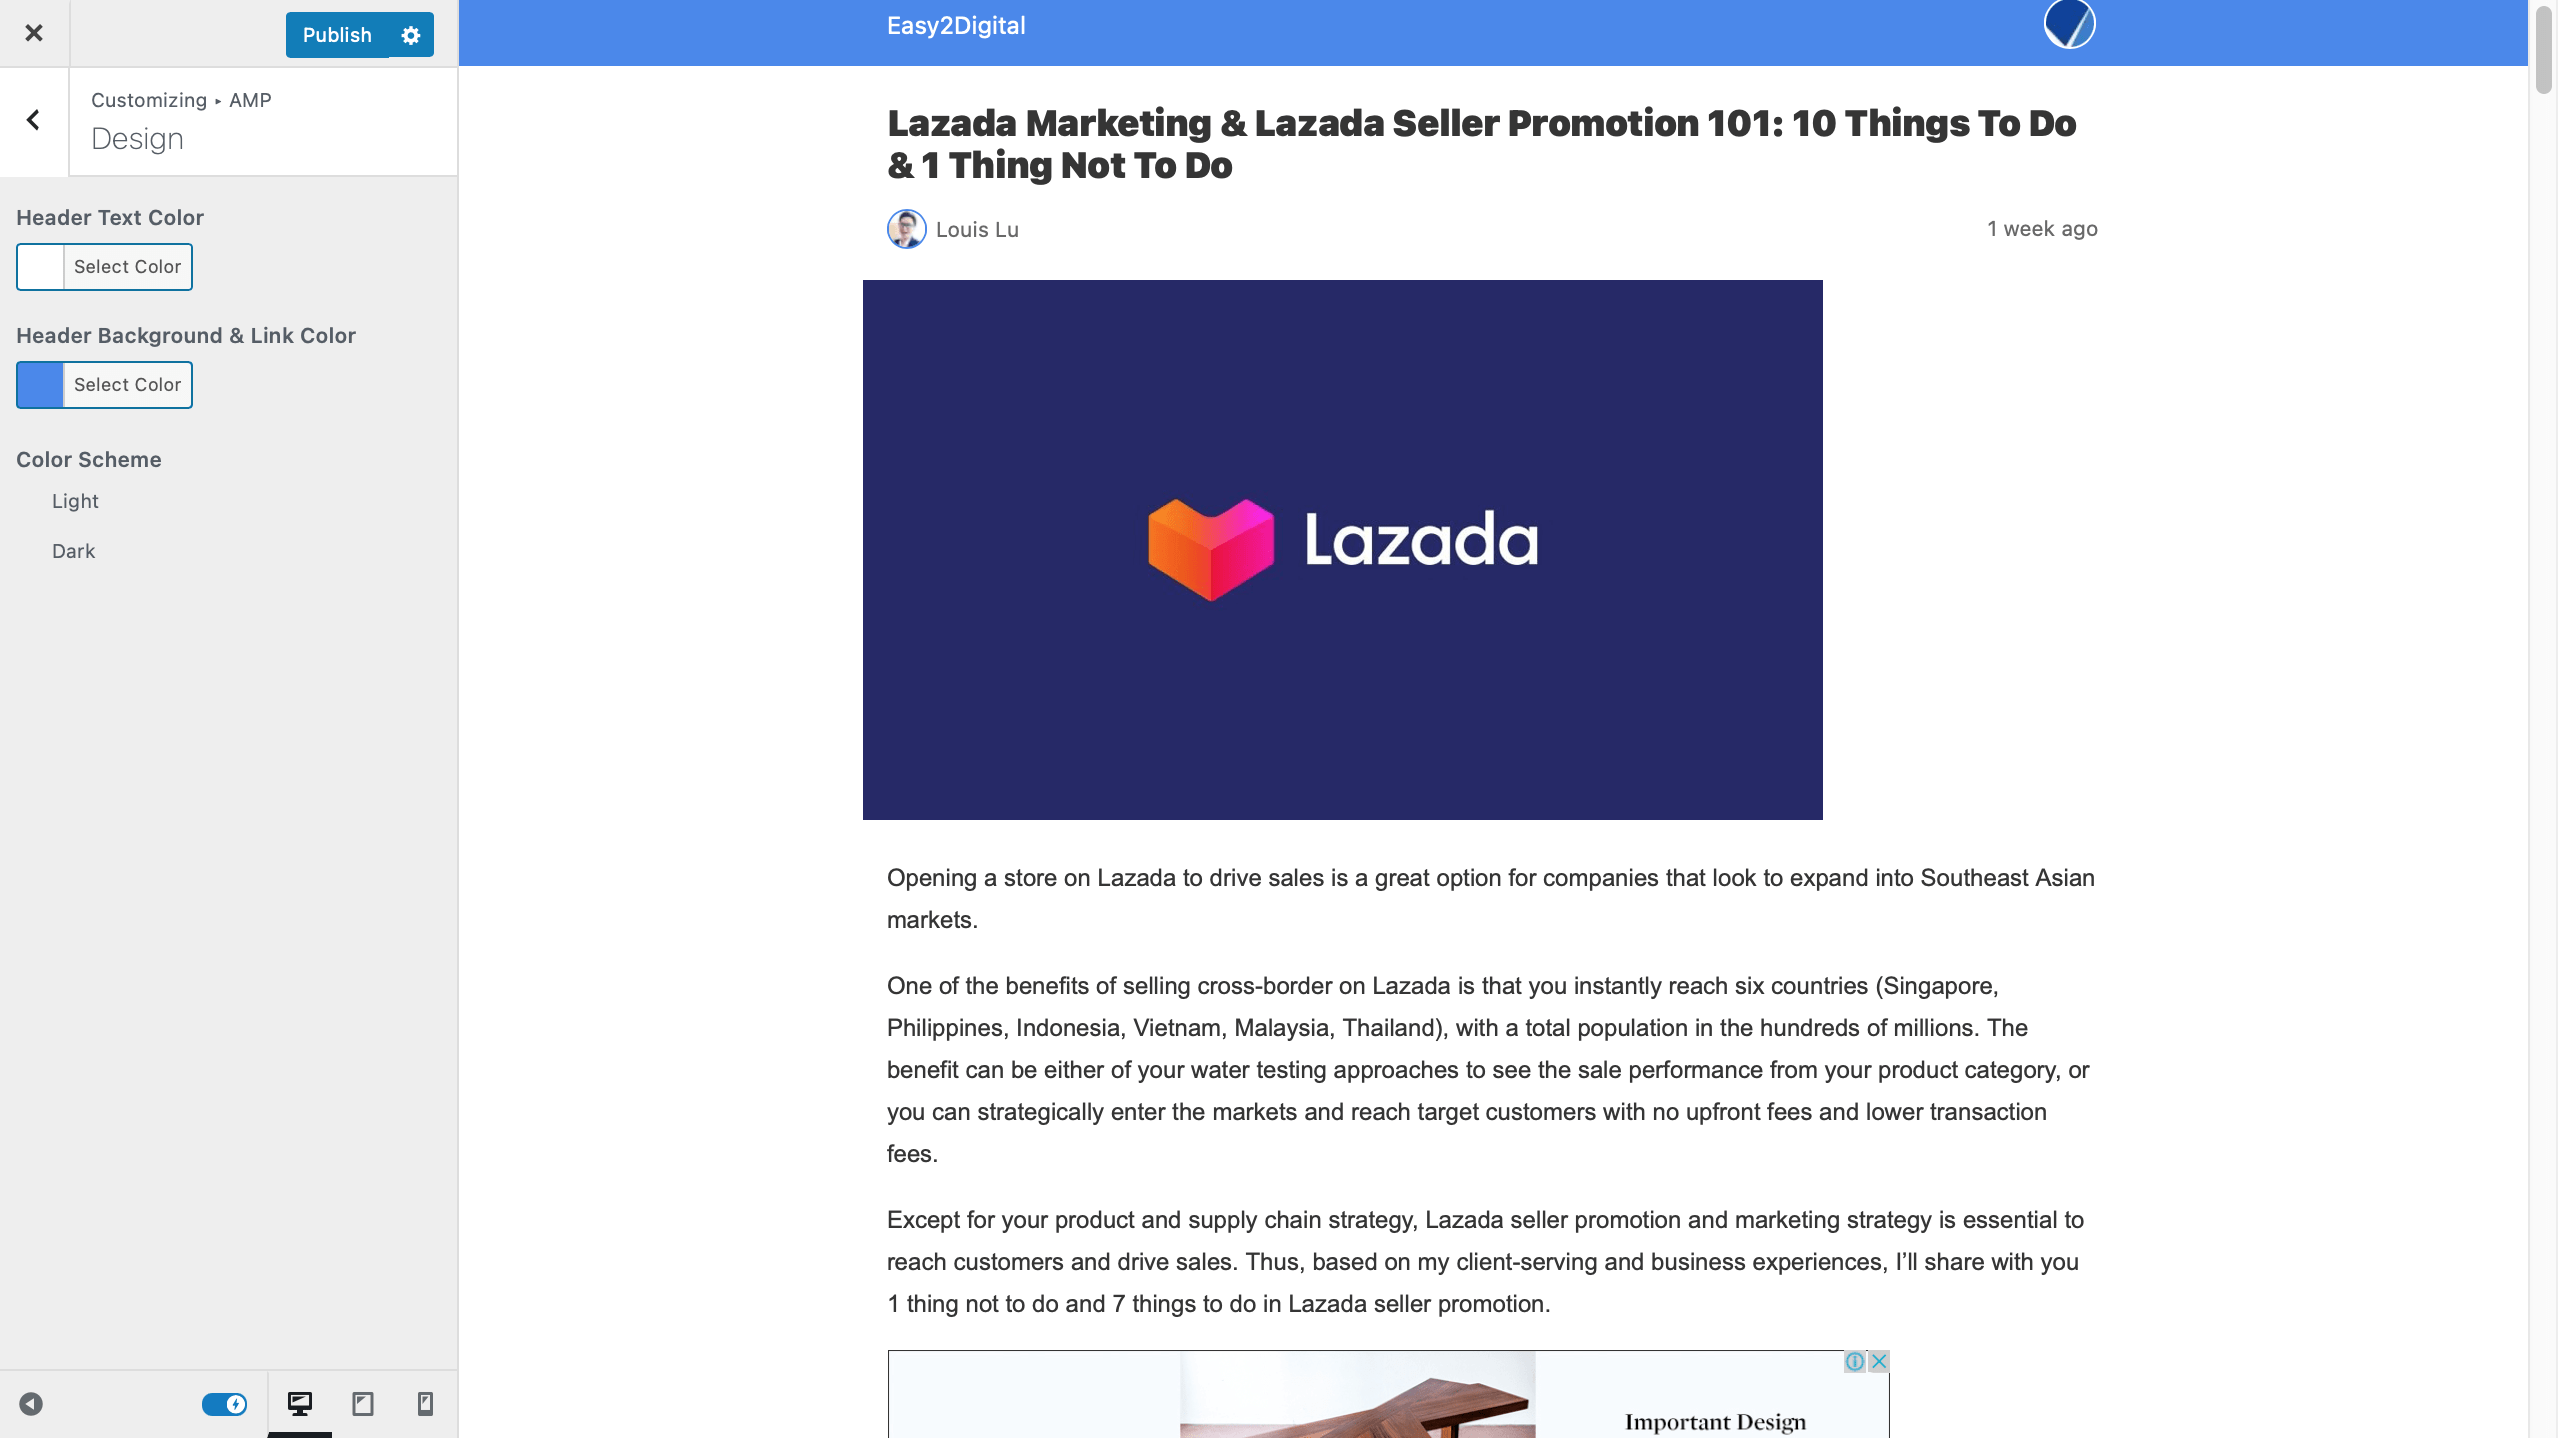
In AMP, you can select the theme template as you like, and modify the theme color in WordPress customize mode. If your theme supports this plugin, the AMP plugin will also use your site’s icon. Although it doesn’t provide many CSS options, which just have header text and background color, and color scheme, I would say it’s enough to start with AMP first to get a much faster mobile page loading speed, in particular, if a large percentage of your site traffic is mobile, it may be worth sacrificing some visual design and functionality for improved user experience.
On the other hand, there are three sections I’ll suggest you look into and select a proper one for your website.
1. AMP Template Mode
There are three template modes you can select:
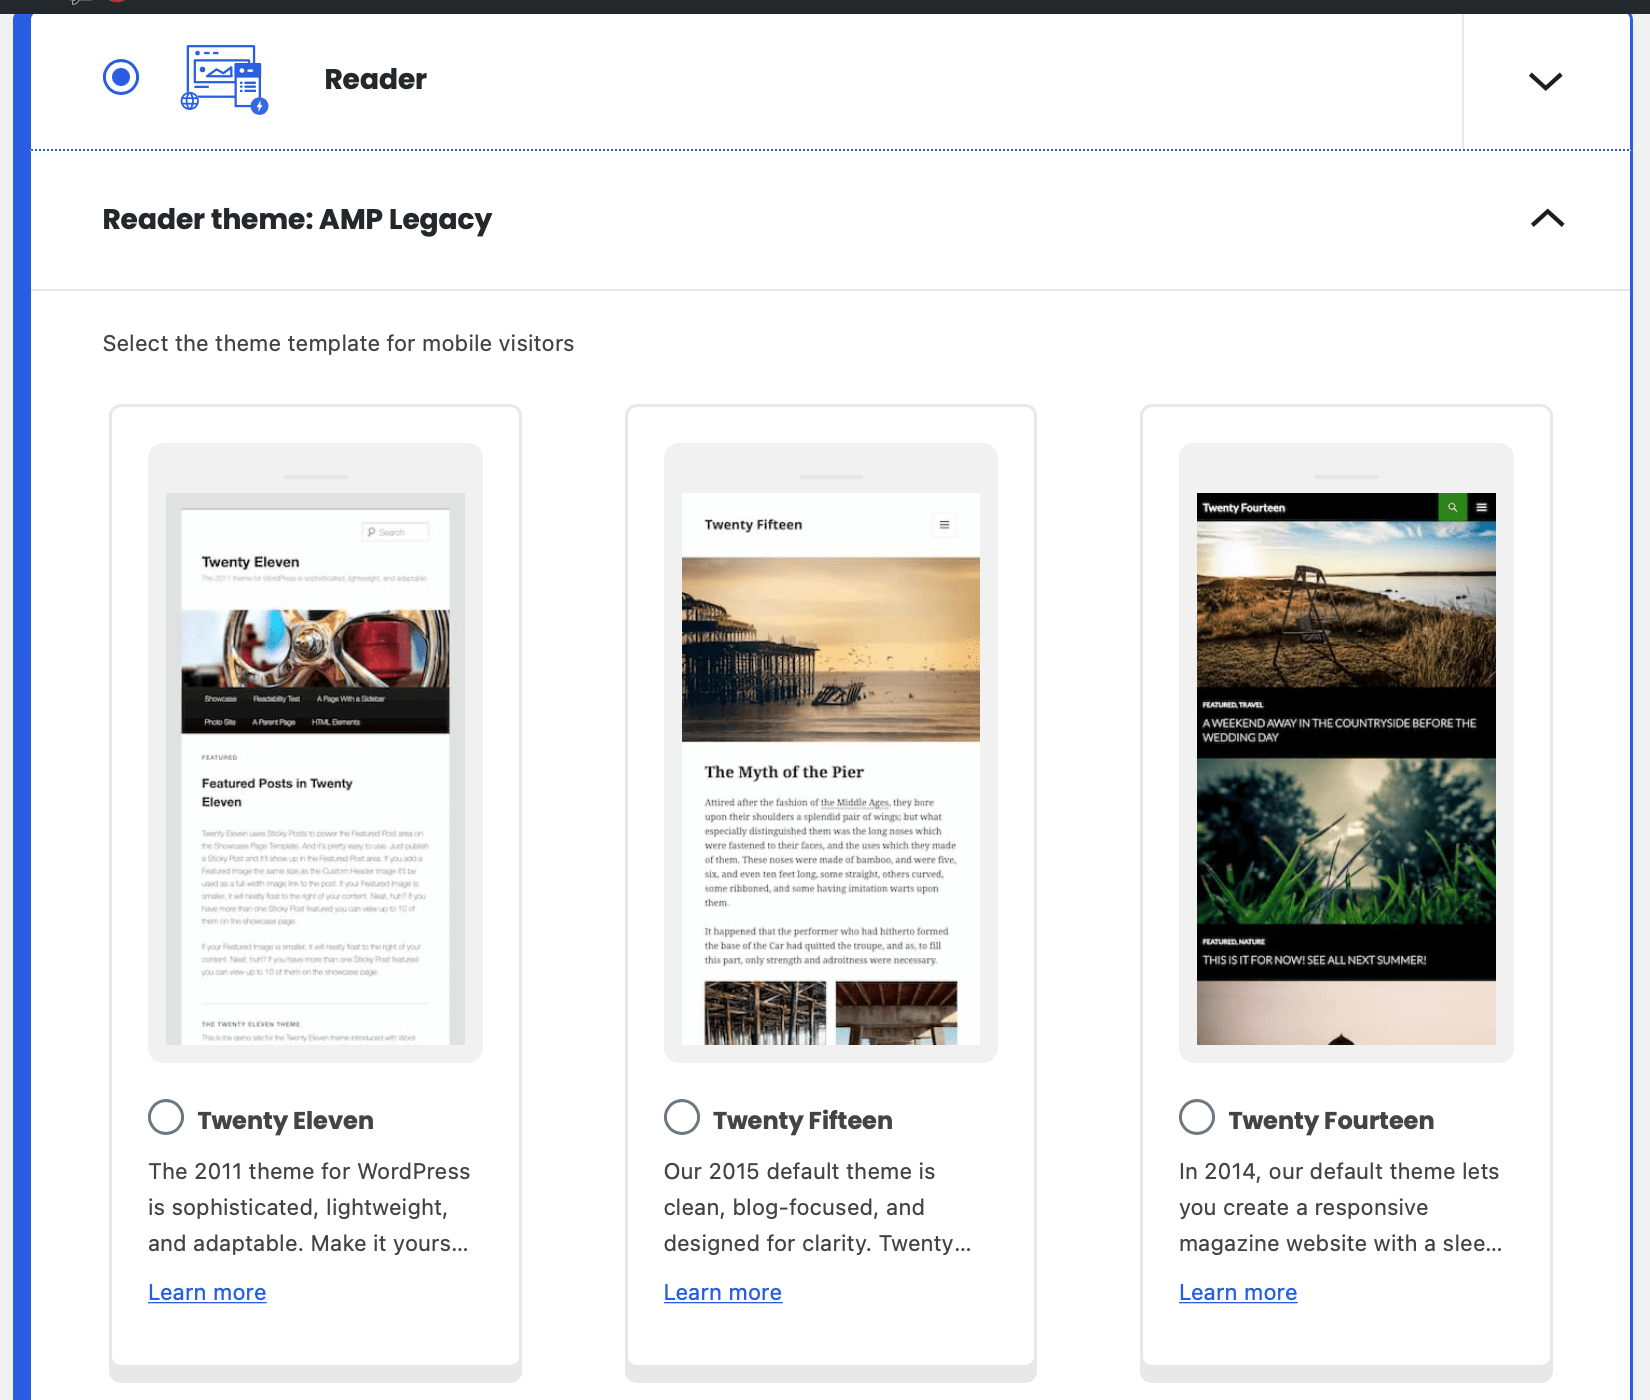
1) In Reader mode, there are two versions of your site, and two different themes are used for the AMP and non-AMP versions. You have the option of using an existing AMP-compatible theme, or you can use the AMP Legacy theme (formerly known as Classic theme).
I would suggest starting with this mode because all AMP pages have been set canonical tags to the original layout page, which avoid creating duplicate content issues and devalue your SEO credit, impact SEO performance.
2) In standard mode, your site uses a single theme and there is a single version of your content. You can opt out from AMP selectively for parts of your site. Every canonical URL will be either AMP or non-AMP. So you need to dedicate more time to handle canonical tags. Unless you have a resource on this for specific reasons, otherwise I don’t suggest you start with standard mode.
3) In traditional mode, the active theme’s templates are used to generate both the AMP and non-AMP versions of your content, allowing for each canonical URL to have a corresponding (paired) AMP URL. This mode is useful to progressively transition towards a fully AMP-compatible site. Depending on your themes/plugins, a varying level of development work may be required.
2. Redirect All Mobile Traffic and Enable Different Content Types to AMP
AMP allows you to redirect all mobile traffic to AMP pages, which means that all pages have an AMP version. Depending on your business situation, you can either activate or enable page by page, or post my posts. After all, perhaps some original pages CSS and layout design might be much better to engage with visitors and call the action.
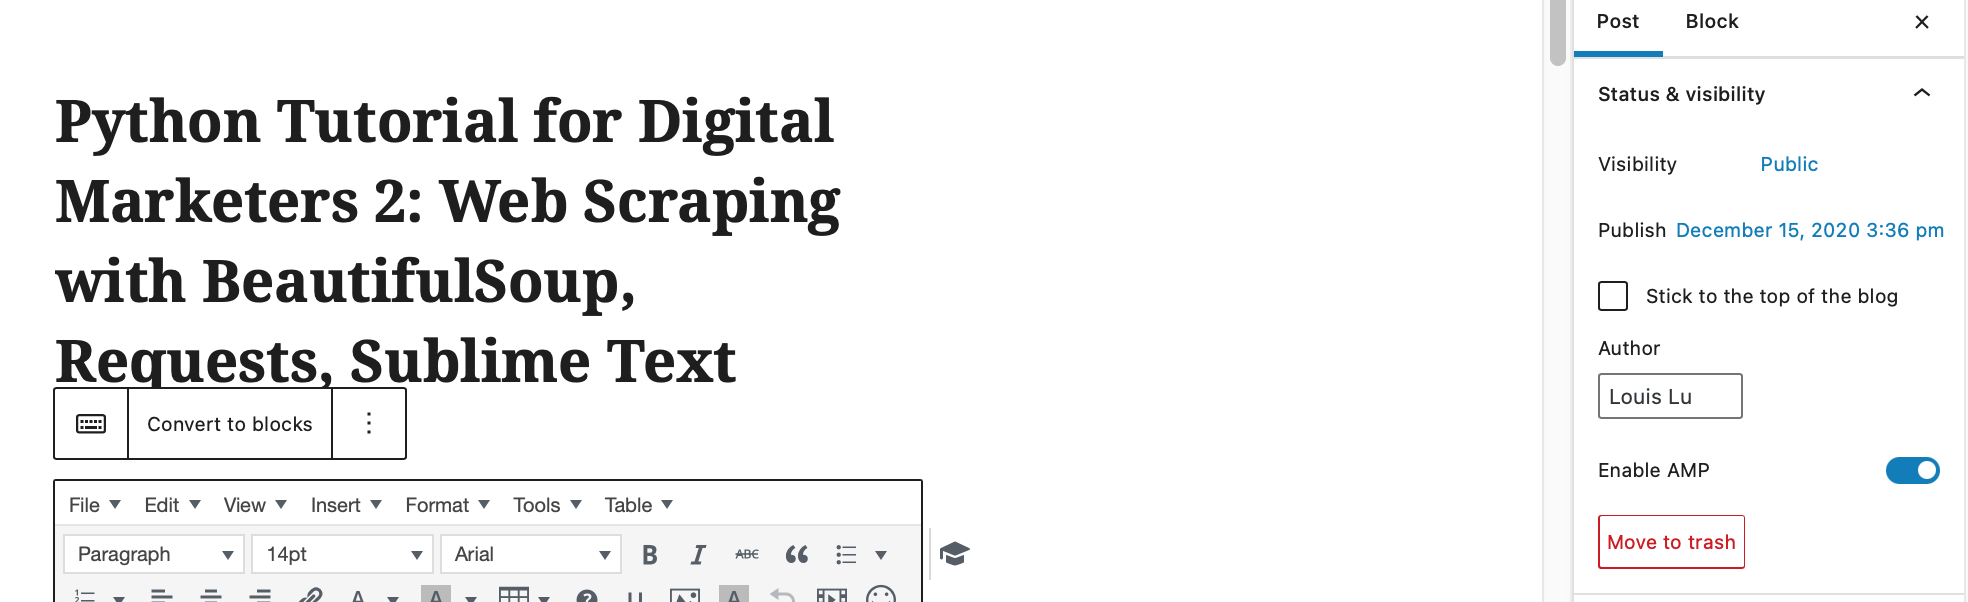
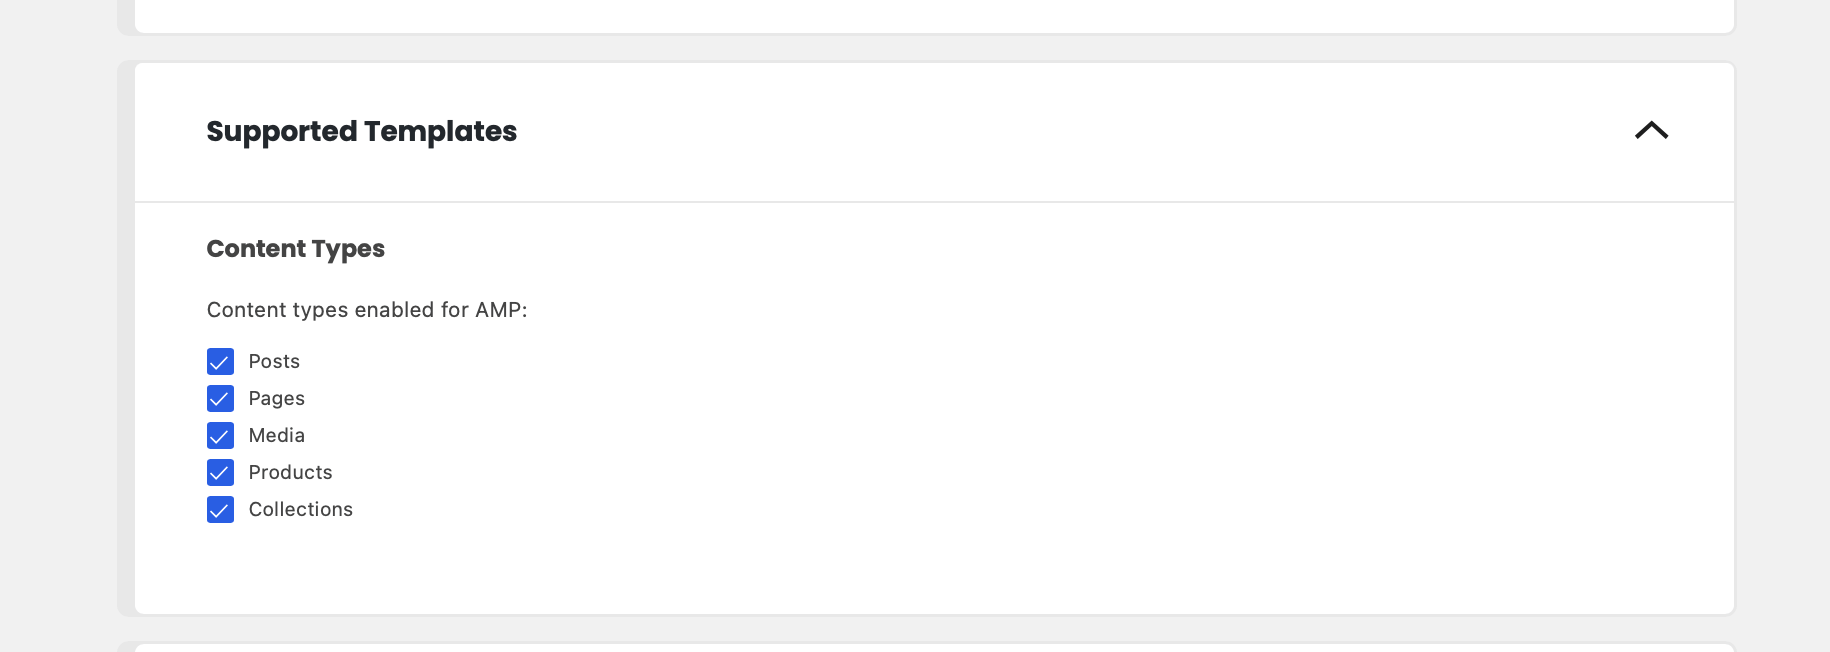
AMP also allows you to select which content type you like to enable AMP, such as post, page, product, etc which you have created on your website. Some of the merchants might not prefer to sacrifice the product page design at the exchange of loading page, because they have added more elements to optimize the conversion rate, and some of the elements might not be compatible with AMP, so it can’t show on the page.
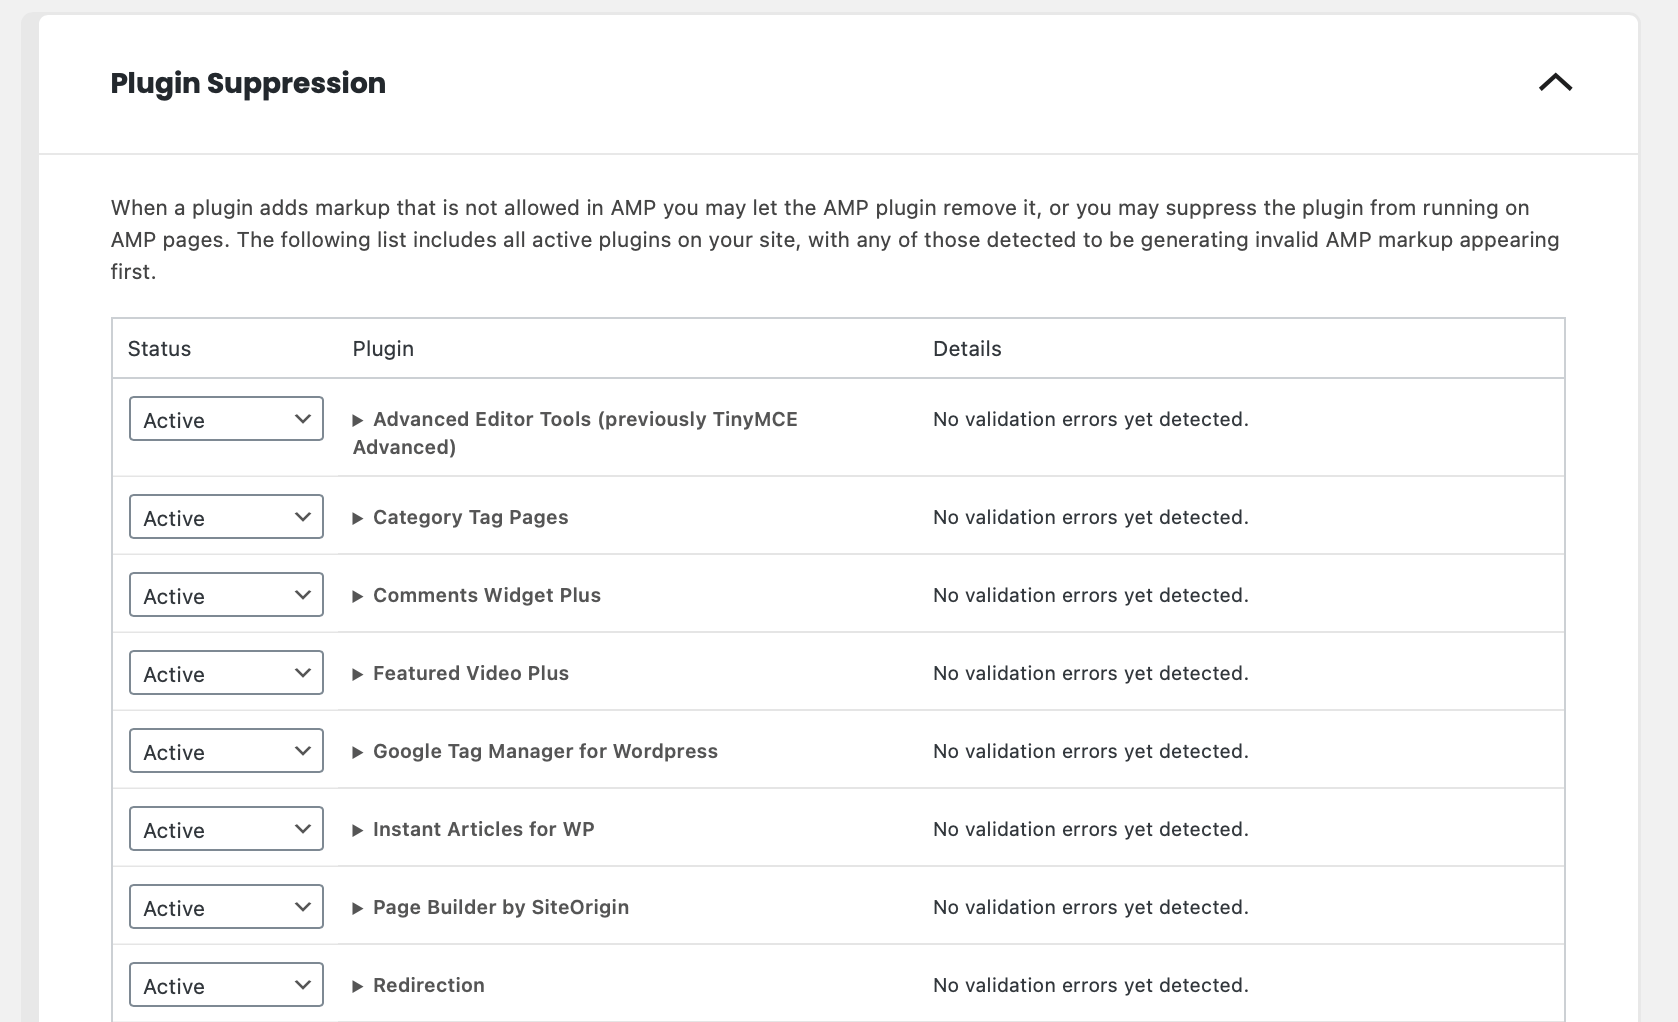
3. Plugin Suppression on AMP
For the plugins you’re using on the WordPress websites, please keep in mind to double-check if any plugins come in invalid or cause errors, because they can crash your site.
How To Turn On the Ads on AMP from Google Adsense and Google Ad Manager (Formerly DFP)
In order to show ads on AMP to monetize the traffic, as well as your original pages, are doing, you need to install additional scripts. Here I’ll take Google Adsense and Google ad manager as examples.
Google Adsense Auto ads
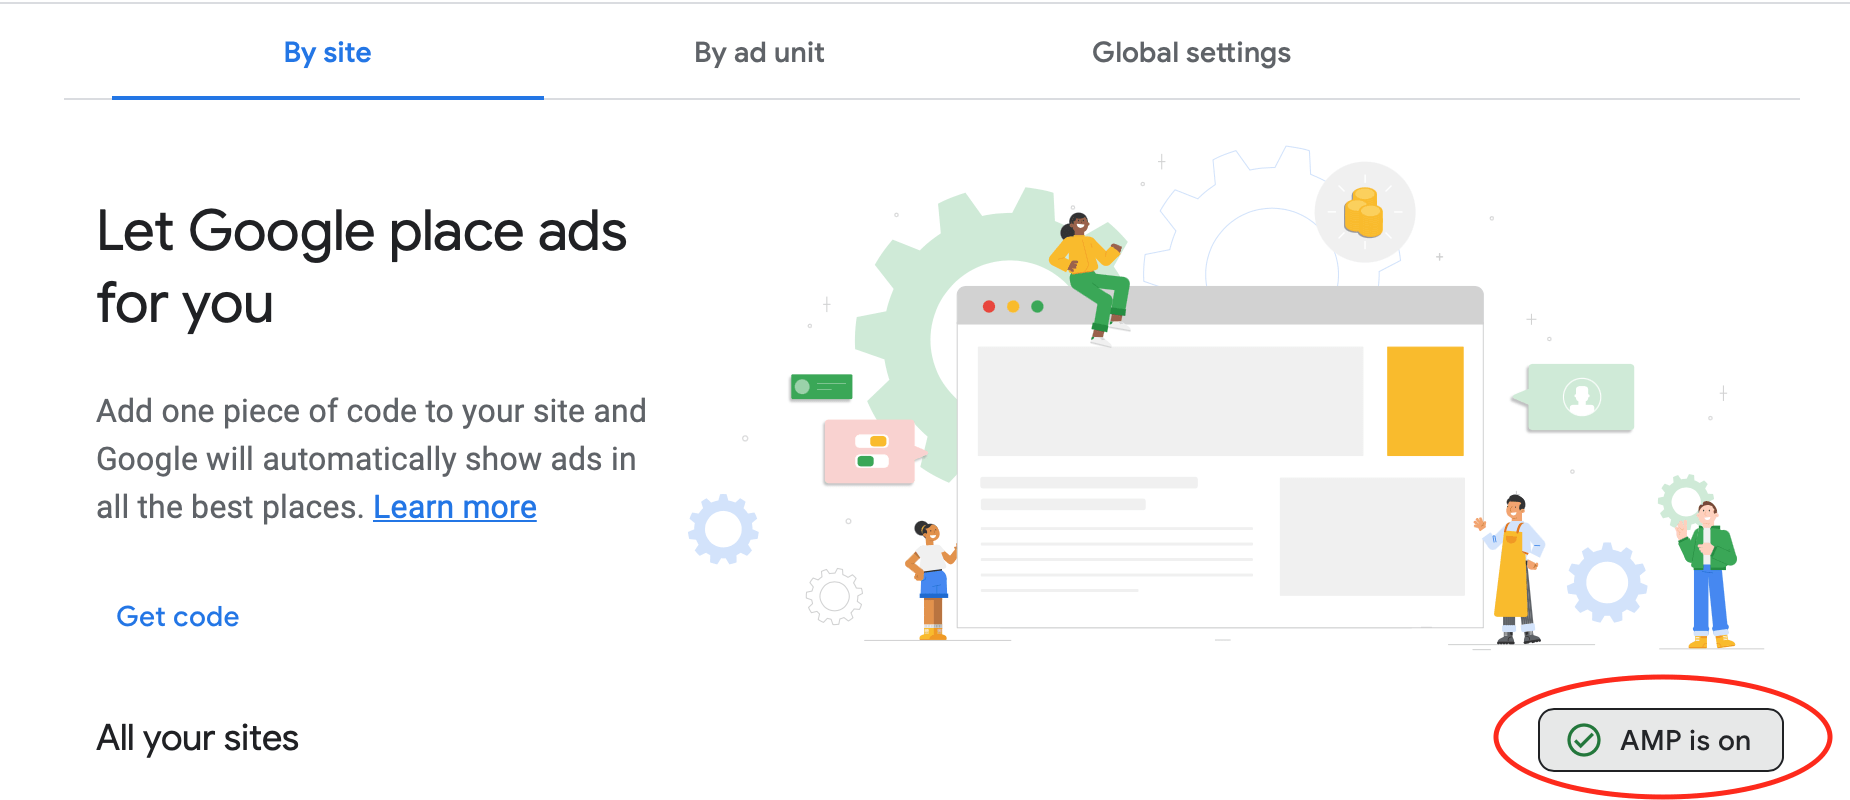
First of all, go to Google Adsense and ads unit section to turn on AMP
Then, go to WordPress AMP plugin editor and HTML-start.php, add this script between <head></head>
<script async custom-element="amp-auto-ads" src="https://cdn.ampproject.org/v0/amp-auto-ads-0.1.js"></script>
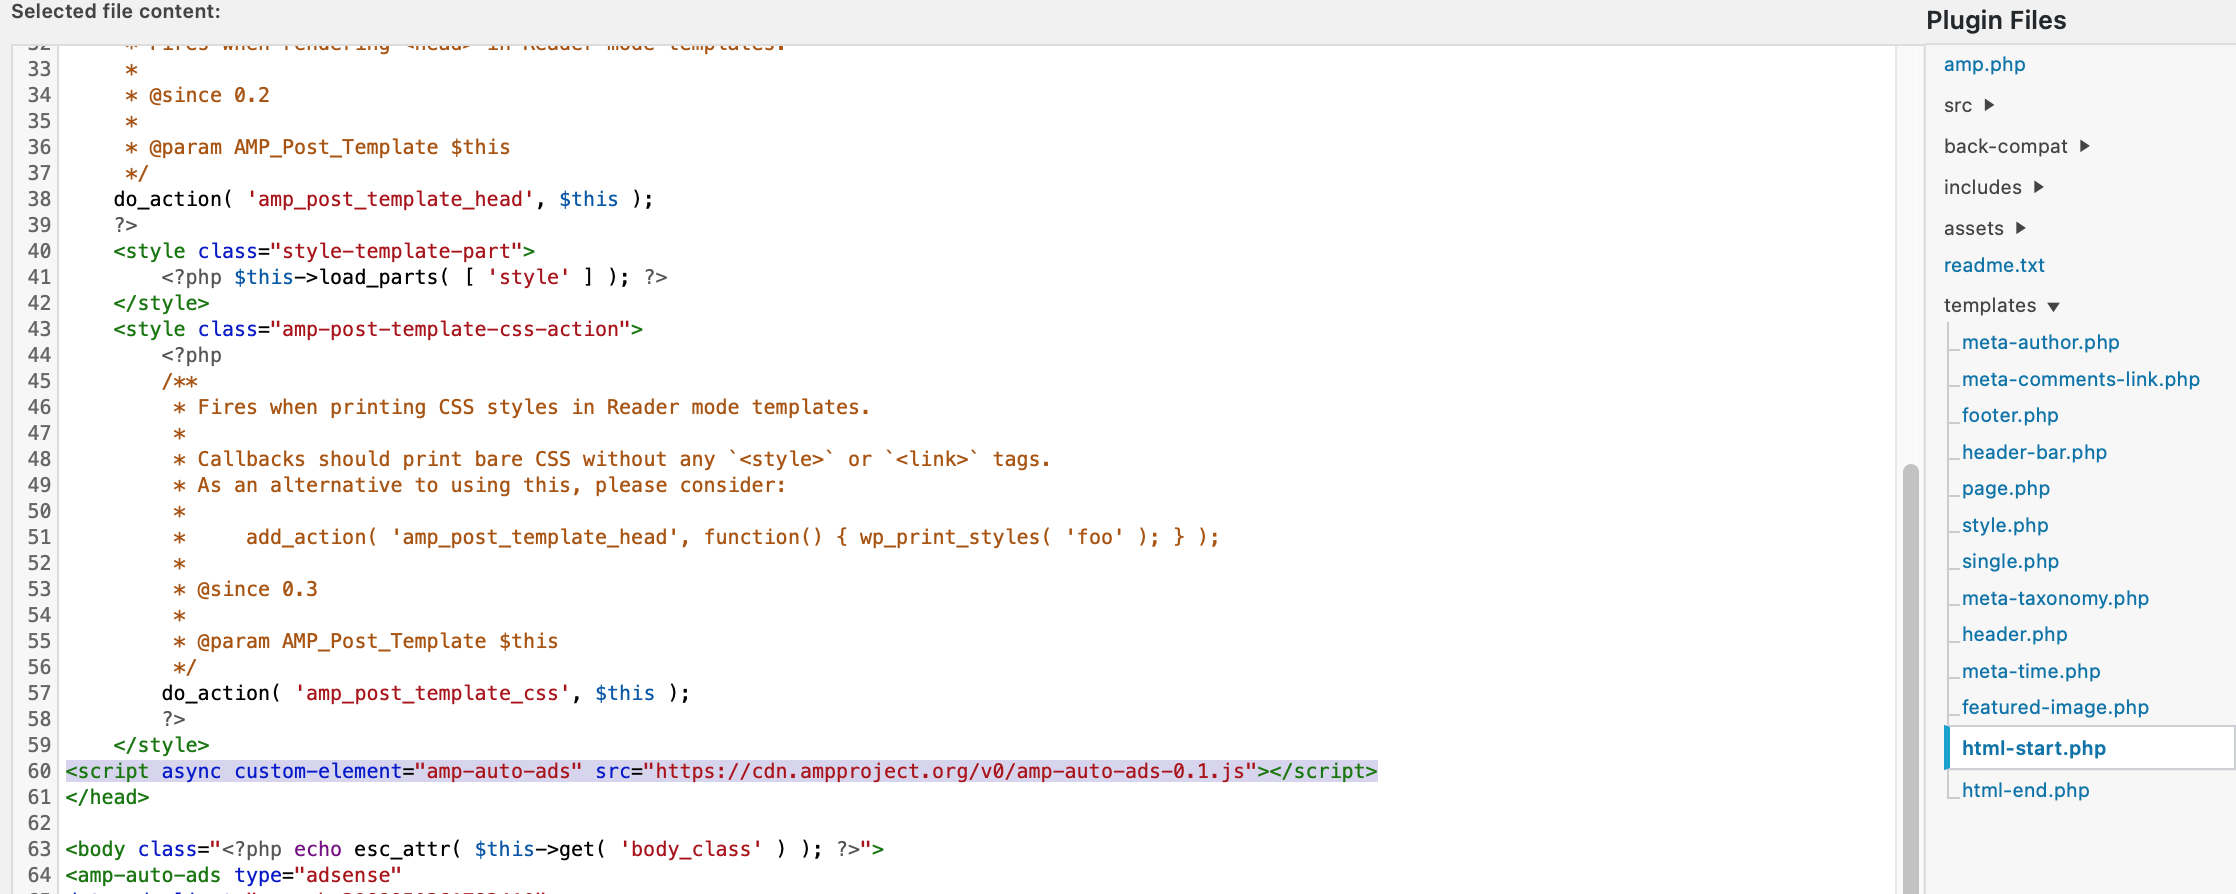
Last but not least, add this script by filling in your Google AdSense publisher ID between <body></body> in the same .php file.
<amp-auto-ads type="adsense" data-ad-client="ca-pub-xxxxxxxxxxxxx"></amp-auto-ads>
After updating the file, all AMP can show the Google Adsense ads automatically

Google Ad Manager Sticky ads
First of all, go to Google ad manager and create the ad unit and generate an AMP tag to install on your website between <header></header> and <body></body> to all pages.

Then, as doing the same thing as you create Google Adsense ads, go to AMP plugin editor and add on this script between <head></head> in the HTML-start.phy
<script async custom-element="amp-sticky-ad" src="https://cdn.ampproject.org/v0/amp-sticky-ad-1.0.js"></script>
Last but not least, add this script by filling in your Google ad manager publisher ID between <body></body> in the same .php file. For the width and height, the max height of the sticky-ad is 100px, if the height exceeds 100px then the height would be 100px and overflow content will be hidden. The width of the sticky-ad is set to 100% using CSS and cannot be overridden.
<amp-sticky-ad layout="nodisplay">
<amp-ad
width="320"
height="50"
type="doubleclick"
data-slot="/xxxxxxxx/amptesting/formats/sticky"
>
</amp-ad>
</amp-sticky-ad>
Google Ad Manager Story Ads
Do the same thing with the set of amp story ads script
<head>
<script async custom-element="amp-story-auto-ads" src="https://cdn.ampproject.org/v0/amp-story-auto-ads-0.1.js"></script>
</head>
<body>
<amp-story>
<amp-story-auto-ads>
<script type="application/json">
{
"ad-attributes": {
"type": "doubleclick",
"data-slot": "/xxxxxxxx/a4a/amp_story_dfp_example"
}
}
</script>
</amp-story-auto-ads>
...
</amp-story>
</body>
I hope you enjoy reading How to Turn on AMP with Google Adsense and Google Ad Manager Advertising. If you did, please support us by doing one of the things listed below, because it always helps out our channel.
- Support my channel through PayPal (paypal.me/Easy2digital)
- Subscribe to my channel and turn on the notification bell Easy2Digital Youtube channel.
- Follow and like my page Easy2Digital Facebook page
- Share the article to your social network with the hashtag #easy2digital
- Buy products and software with Easy2Digital 10% OFF Discount code (Easy2DigitalNewBuyers2020)


AMP auto ads are making my amp website slow